Continuous Integration tools are boon for developers, allowing them to integrate code into a shared repository and letting them know about problems in the builds. This allows developers to fix problems quickly by easily locating them. One great CI tool is Jenkins. If you’re a developer who uses Jenkins and has recently switched to Linux, here’s how to install Jenkins in Linux. First, let’s talk about why Jenkins is better than other CI software out there.
Why Use Jenkins?

- Jenkins is completely free, open-source, and is written in Java programming language, making it fairly portable.
- The community and support have gotten really good over time.
- Container technologies like Docker and Kubernetes can be used in Jenkins.
- Jenkins has one of the most comprehensive plugin integrations.
Before you go ahead and install Jenkins, make sure you have Java installed. Failing to do so will result in Jenkins throwing up errors.
How To Install Jenkins In Linux?
On Debian/Ubuntu-Based Distributions
- Download and add the key using the following command.
wget -q -O - https://pkg.jenkins.io/debian-stable/jenkins.io.key | sudo apt-key add -2. Now, fire up the terminal and type the following command to edit the sources.list and add the following entry. Copy the command and press CTRL+X to exit. You will not be able to edit the file without superuser permissions.
sudo nano /etc/apt/sources.list
 deb https://pkg.jenkins.io/debian-stable binary/
3. Update the repo list and install Jenkins.
sudo apt-get update
 sudo apt-get install jenkins
On CentOS/Fedora/Red Hat
- Download and add the key using the commands.
sudo wget -O /etc/yum.repos.d/jenkins.repo https://pkg.jenkins.io/redhat-stable/jenkins.repo
 sudo rpm --import https://pkg.jenkins.io/redhat-stable/jenkins.io.key
2. Install Jenkins.
yum install jenkinsOn OpenSUSE
- Add the repo using the following command.
sudo zypper addrepo -f https://pkg.jenkins.io/opensuse-stable/ jenkins2. Install Jenkins.
zypper install jenkinsOn Arch And Arch-Based Distributions
sudo pacman -S jenkinsHow To Install Java In Ubuntu?
The easiest way to install Java is by installing Zulu builds of OpenJDK. All you need to do is download and open the .deb file, and Java will be installed.
- Head over to the official Zulu builds download page and download the most recent .deb file.
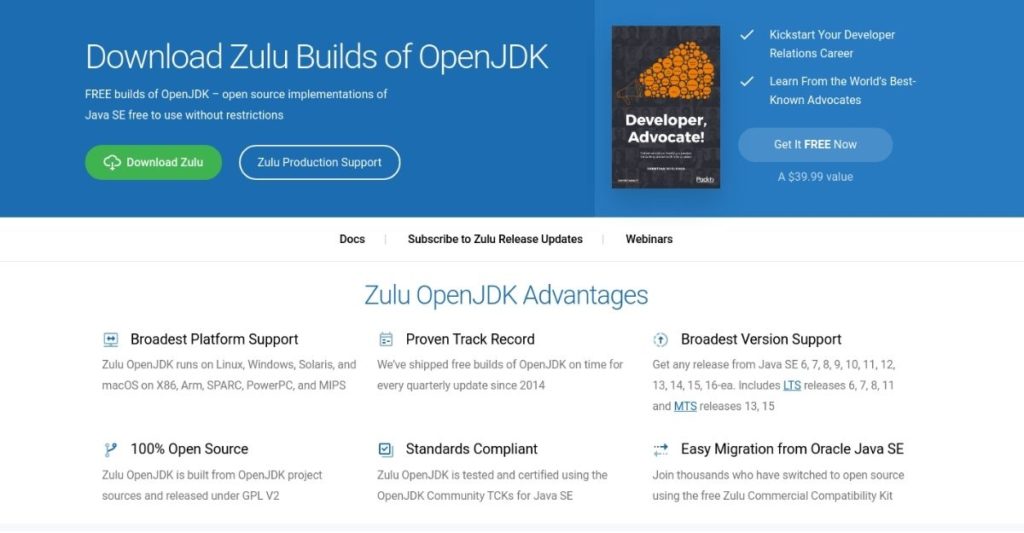
2. After the download’s complete, open the file and wait for the installation process to complete. To check if Java was installed correctly, enter the following command.
java --version3. To check if Jenkins is running or not, type this command and hit enter.
sudo systemctl status jenkins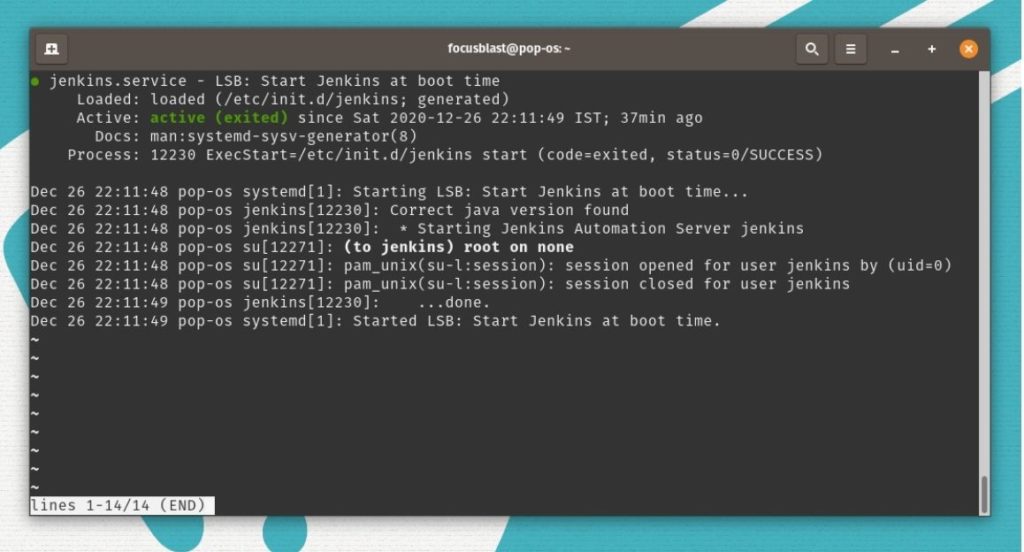
Configuring Jenkins
- To configure Jenkins, you’ll need to find out your IP address. You can do that using the command.
ifconfig -a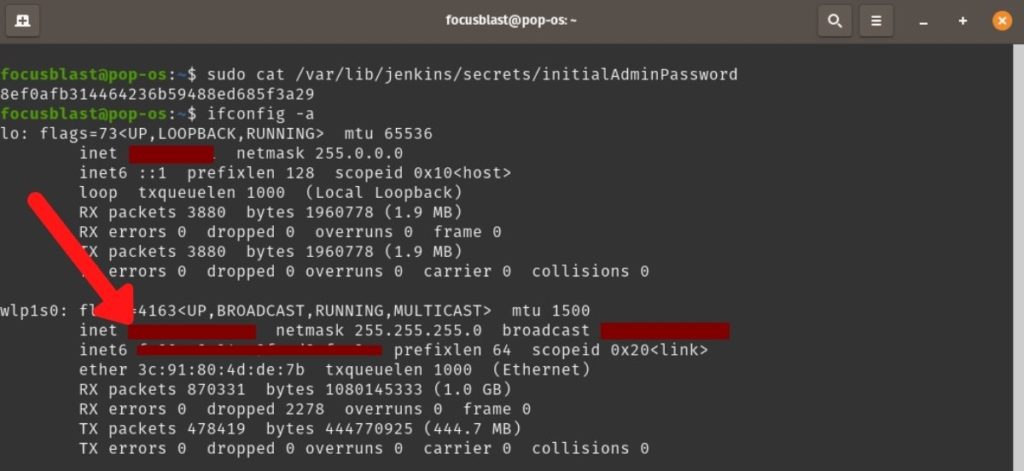
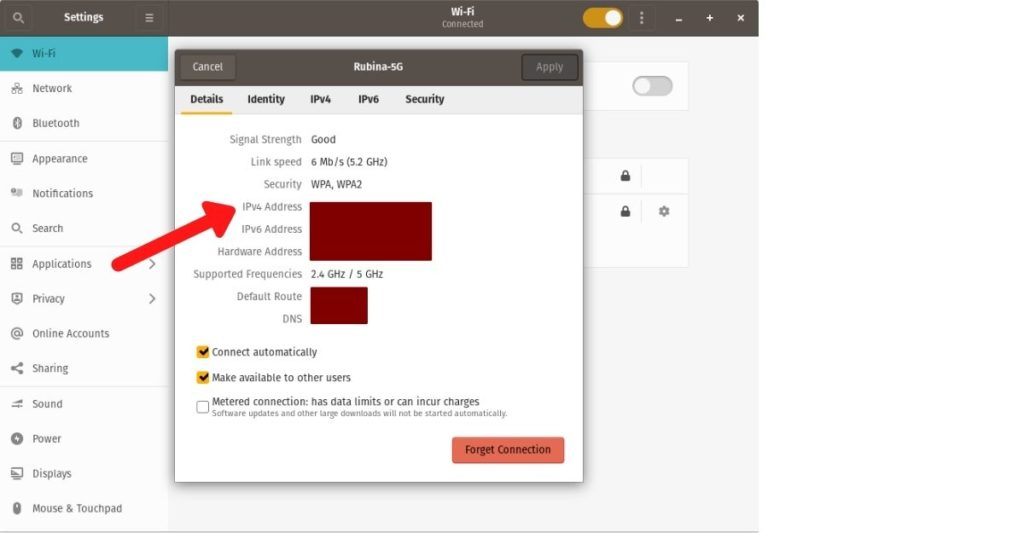
2. Another way to find out your IP address is by going to Settings -> Wi-Fi -> Click on the gear icon beside the network name you’re connected to.
3. Now, open your preferred browser and enter your IP address in the search bar followed by a colon and the port number :8080 and you will be asked to enter a password.
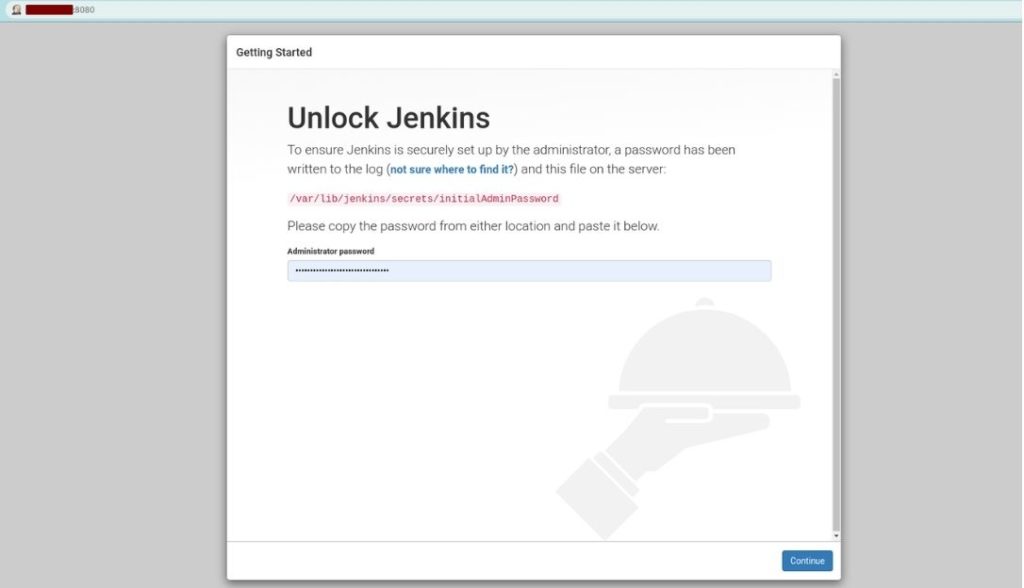
4. To get the password, copy the following command and hit enter. Enter your Linux password if prompted.
sudo cat /var/lib/jenkins/secrets/initialAdminPasswordCopy the 32-digit value that appears and paste it in the panel.
5. Now, install the plugins and voila! You have successfully installed Jenkins.
6. Create First Admin user by entering the credentials you want to use and click Save and Finish.
Are you a developer? Which CI tool do you use? Let us know in the comments section below.
Also, let us know if you encounter any issue during the installation.
The post How To Install Jenkins In Linux? appeared first on Fossbytes.
How To Install Jenkins In Linux?
read more
No comments:
Post a Comment