What makes Linux an incredible software is its ability to run on any hardware or platform. If you’re a geek yourself, then we’re pretty sure you don’t need any introduction to what you can do with Linux on your PC. Linux has become so popular today that even Microsoft and other big firms acknowledge it. In this article, let’s look at how to use Linux in Windows.
If you’re someone who wants to try out Linux, but you’re afraid that you might screw up something while dual-booting, this tutorial is for you. We’ll be looking at the two most popular methods to install Linux in Windows. In this tutorial, we’ll be using a Virtual Machine like Oracle’s VirtualBox, a popular tool used by professionals worldwide.
Step 1: Install Linux In Windows Using VirtualBox
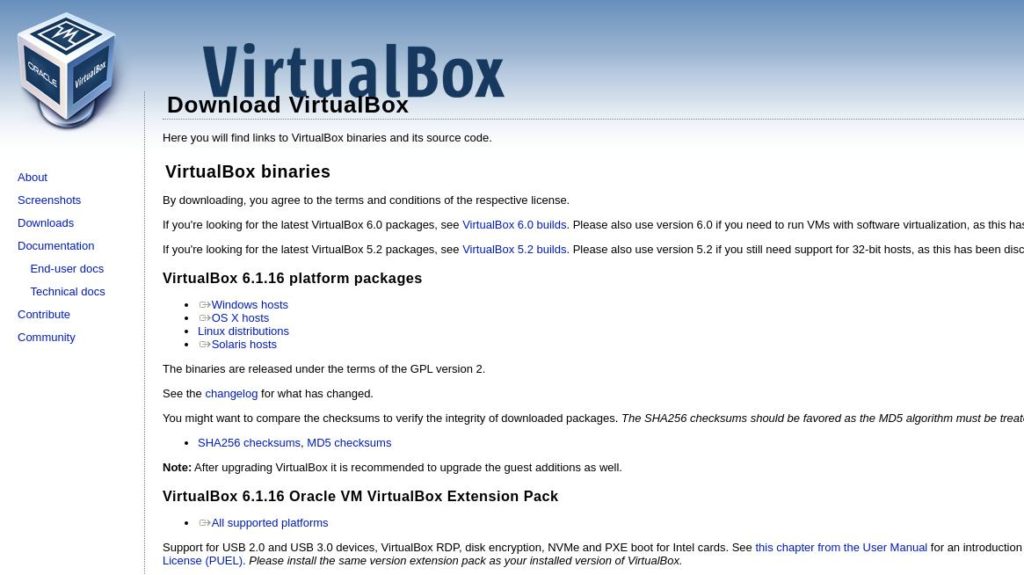
- First, head over to the official VirtualBox download page by clicking here and download the executable file by clicking on Windows Hosts.
2. Double-click on the downloaded file to launch the installer.
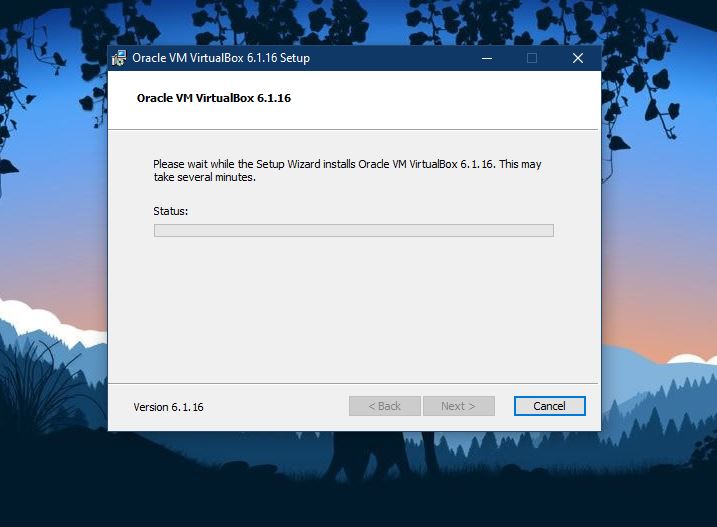
3. Now, all you need to do is click Next, and and a Windows network warning will be waiting for you. Click on Allow, and VirtualBox will be installed.
4. Click on Start, find the VirtualBox Manager app and open it.
Step 2: Adding The Ubuntu ISO
Now that we have installed VirtualBox, we need to download the Linux distribution we want to run. I’ll be downloading and using Ubuntu in this tutorial but, you can use any distribution.
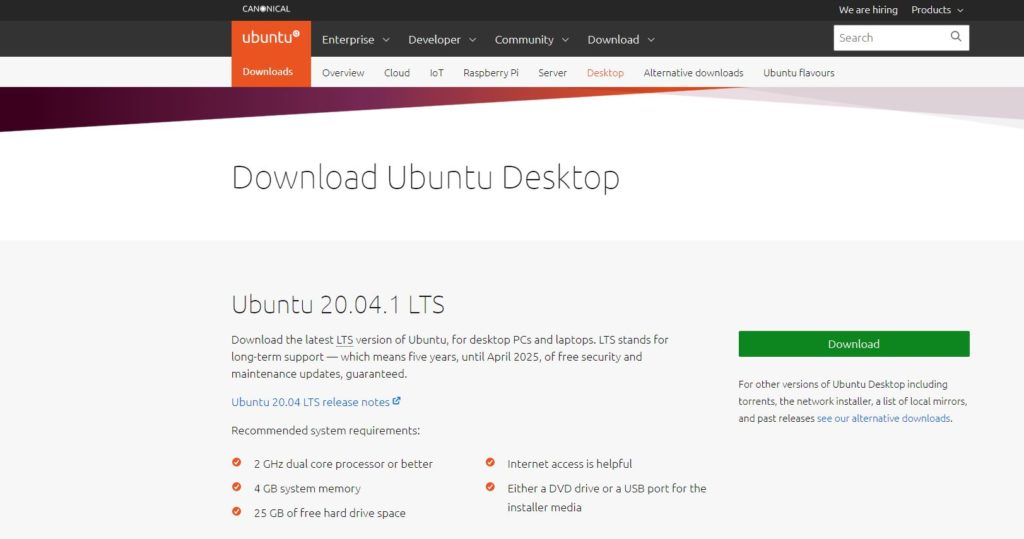
- Head over to the Official Ubuntu download page and download the latest LTS image.
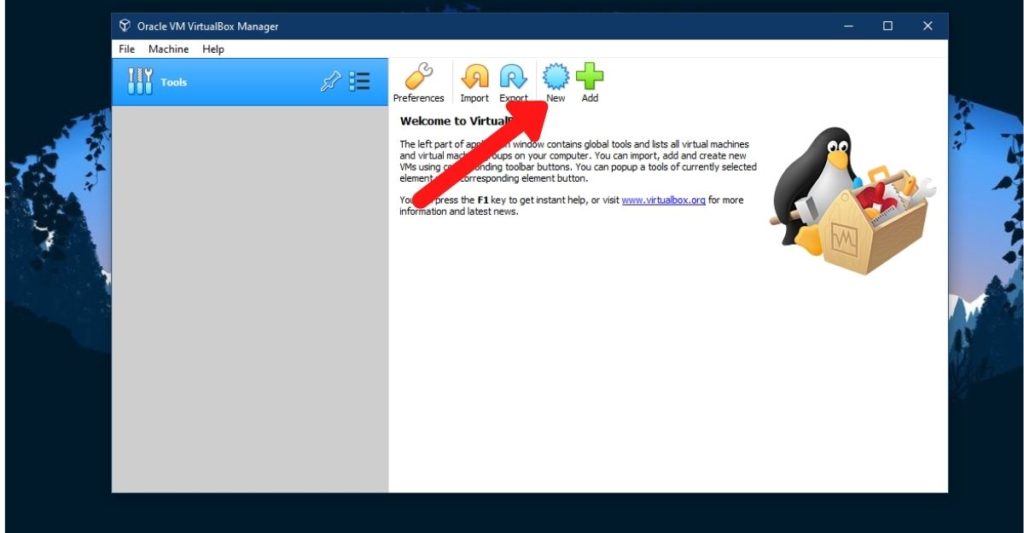
2. In VirtualBox, click New.
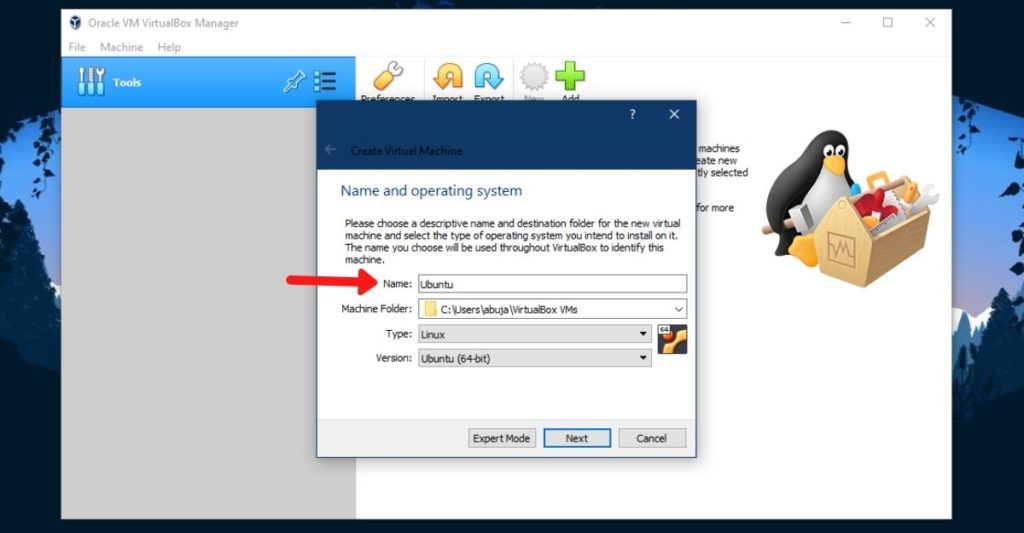
3. In the new window that appears, in the name tab, type Ubuntu. The VM will automatically detect that you want to install Ubuntu. Then click on Next.
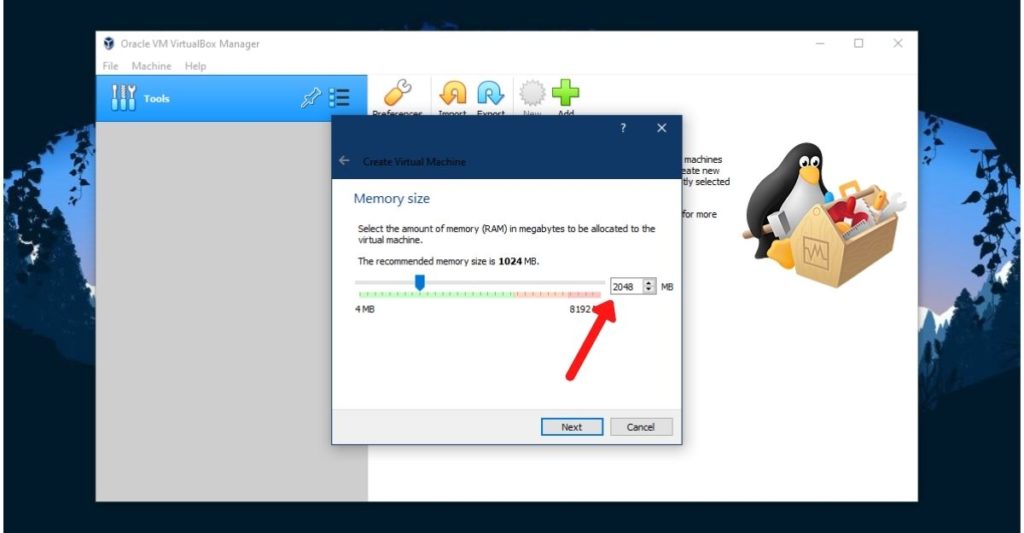
4. Give at least 2GB (2048 MB) of RAM and click on Next.
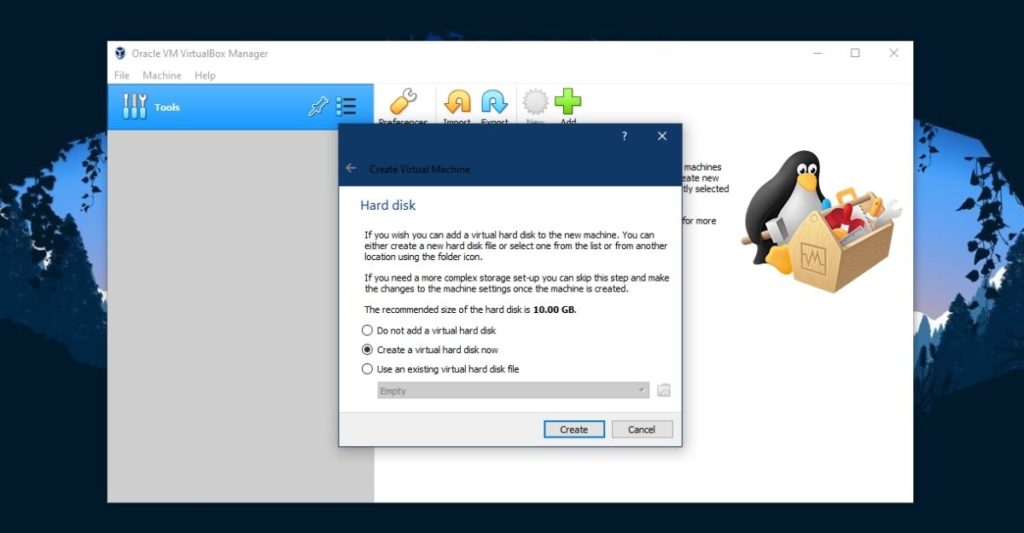
5. Check the option Create a virtual hard disk now and click Create.
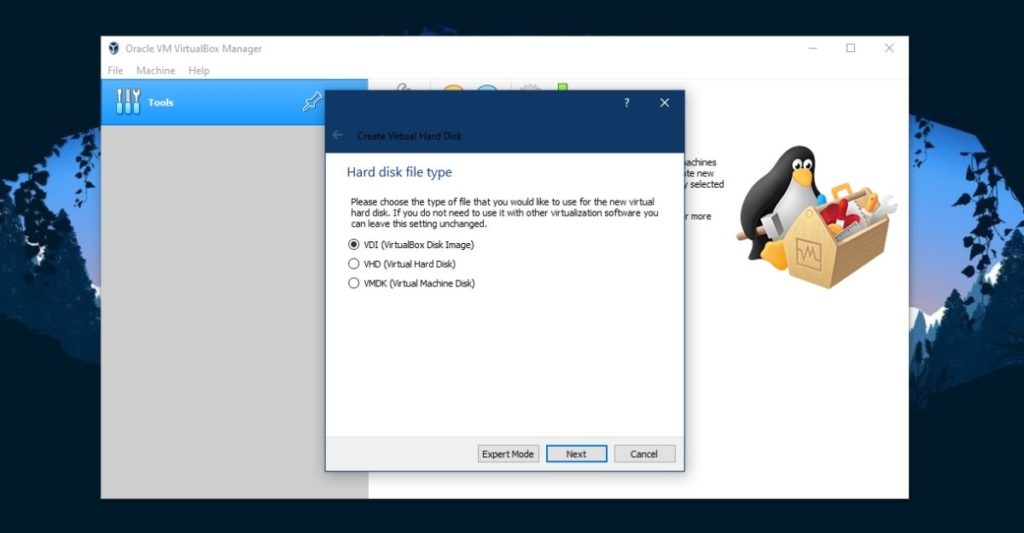
6. By default, if you click Next and create a VDI, only 10GB of space will be allocated. Instead, click on Expert Mode and create a VDI of at least 25 GB.
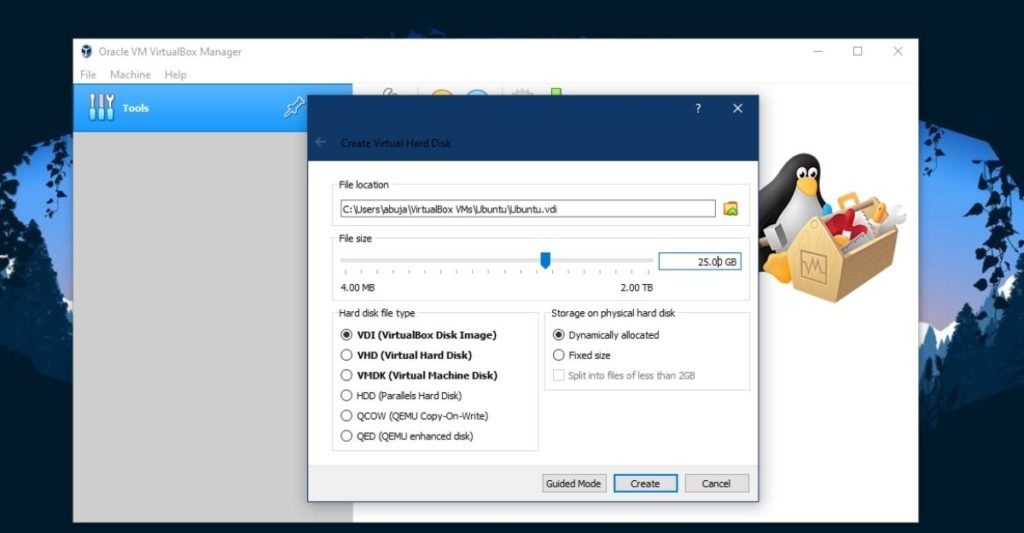
7. Click on Create. You have now created a VDI. Now, all we need to do is select the Ubuntu image that you downloaded and install it.
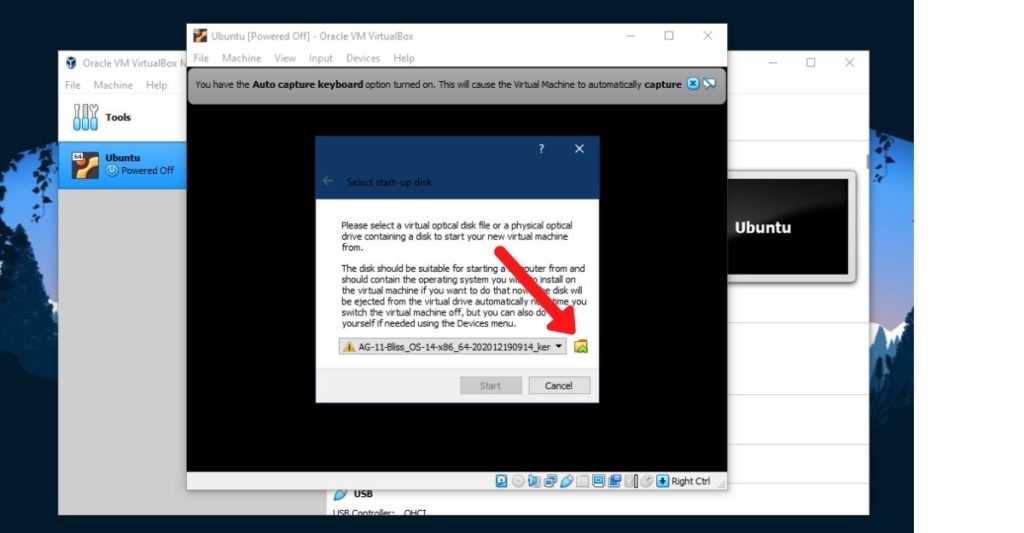
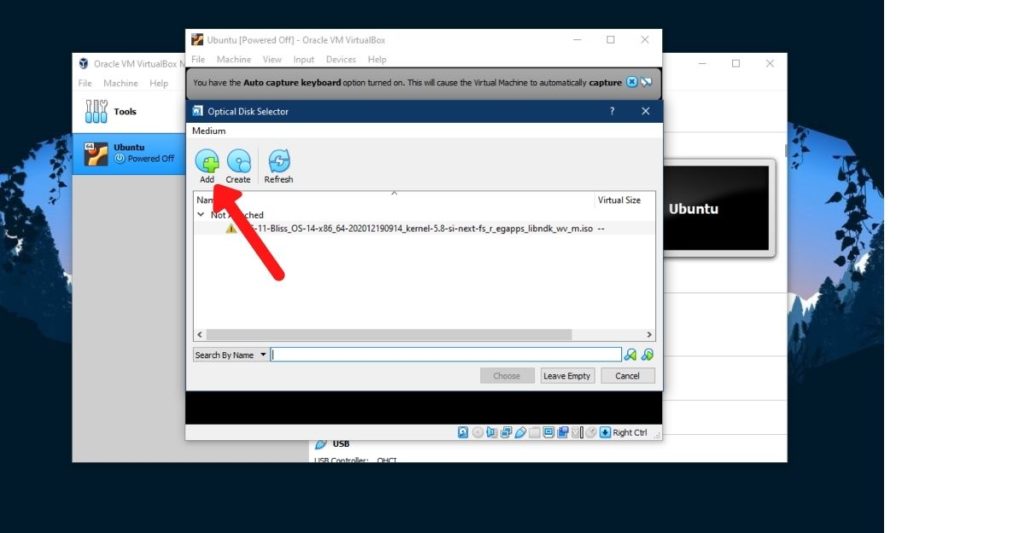
8. Now, click on Start. The VM will start and ask you to select a virtual disk file. Add the Ubuntu ISO from where you downloaded it.
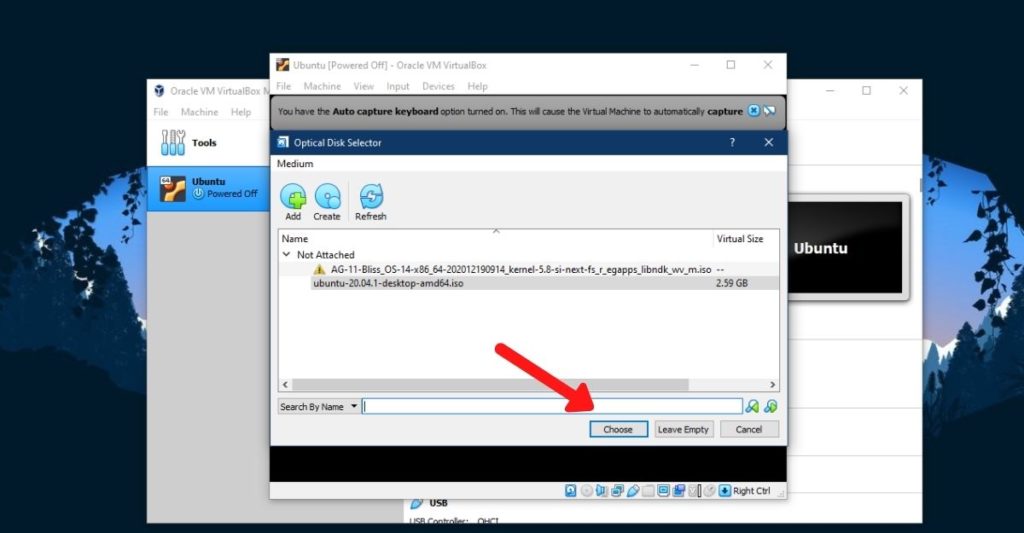
9. Finally, click on Choose and start the VM.
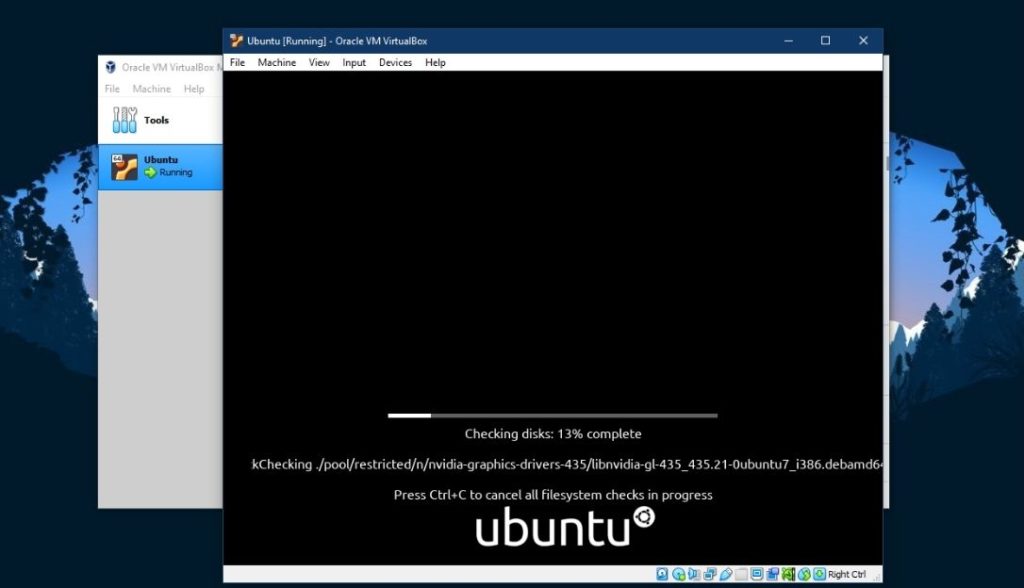
10. Ubuntu will now do a quick disk check. After it’s done, you’ll boot into the OS and the installation wizard.
Also Read: How To Install Kali Linux Easily?
Step 3: Installing Ubuntu
Phew! Don’t give up; we’re almost done. Here comes the installation part.
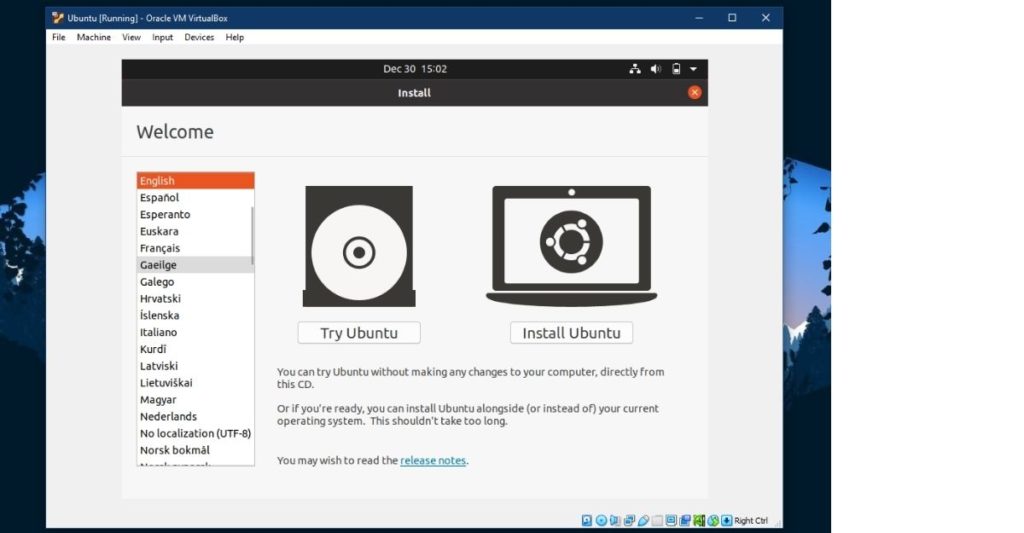
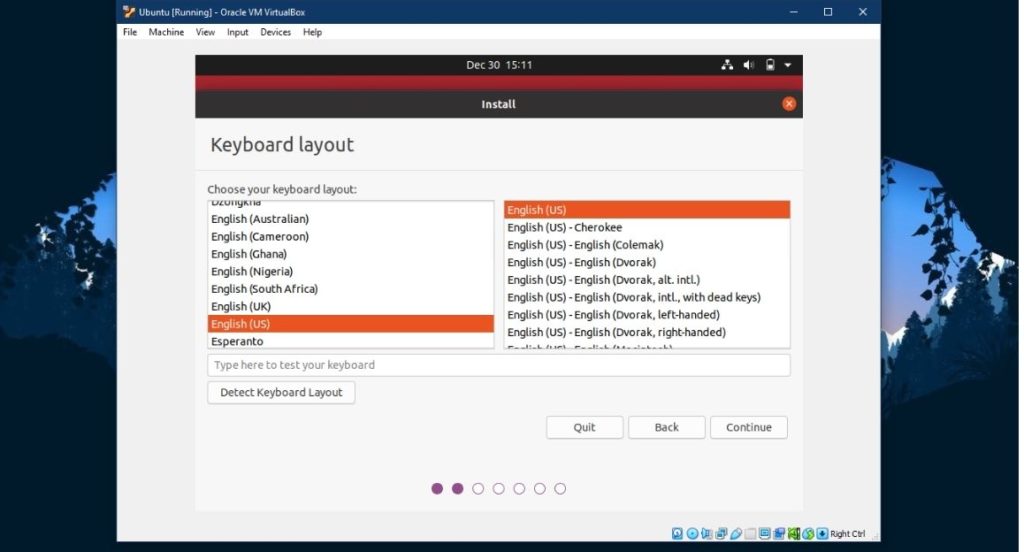
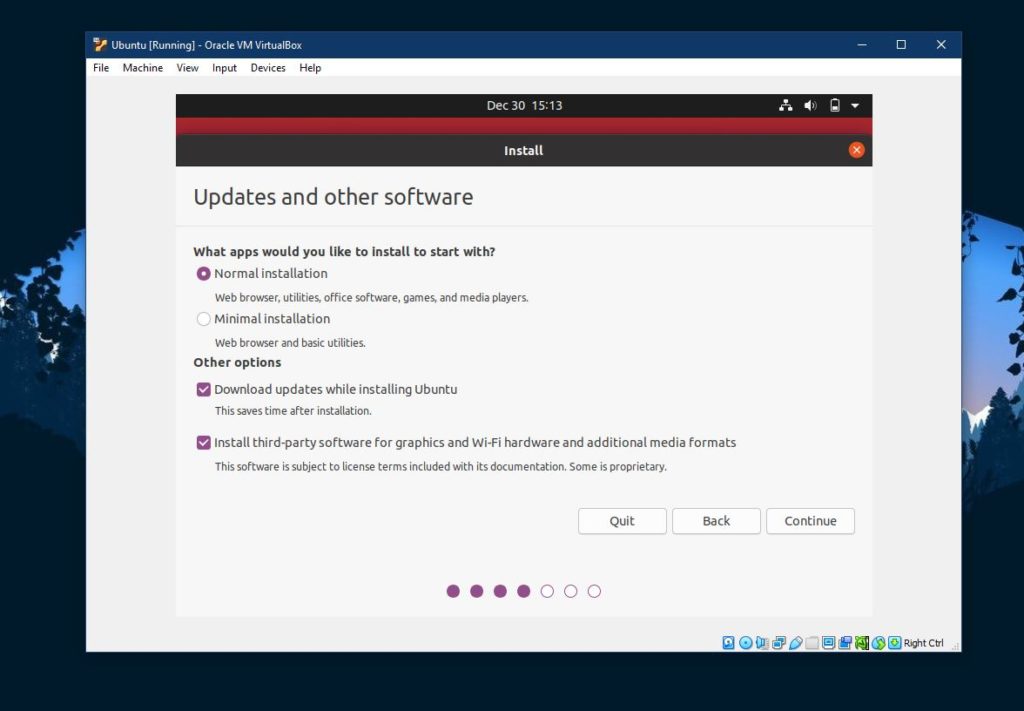
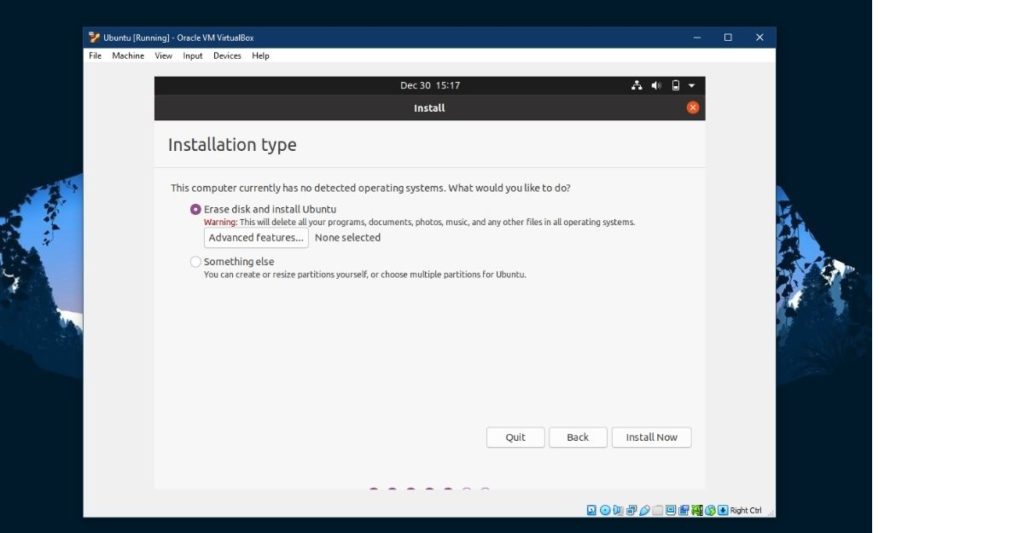
11. Click on Install Ubuntu, select the keyboard layout and language, the installation type (make sure you select install third-party software for graphics and Wi-Fi hardware and additional media formats option.
12. Finally, click on Install Now.
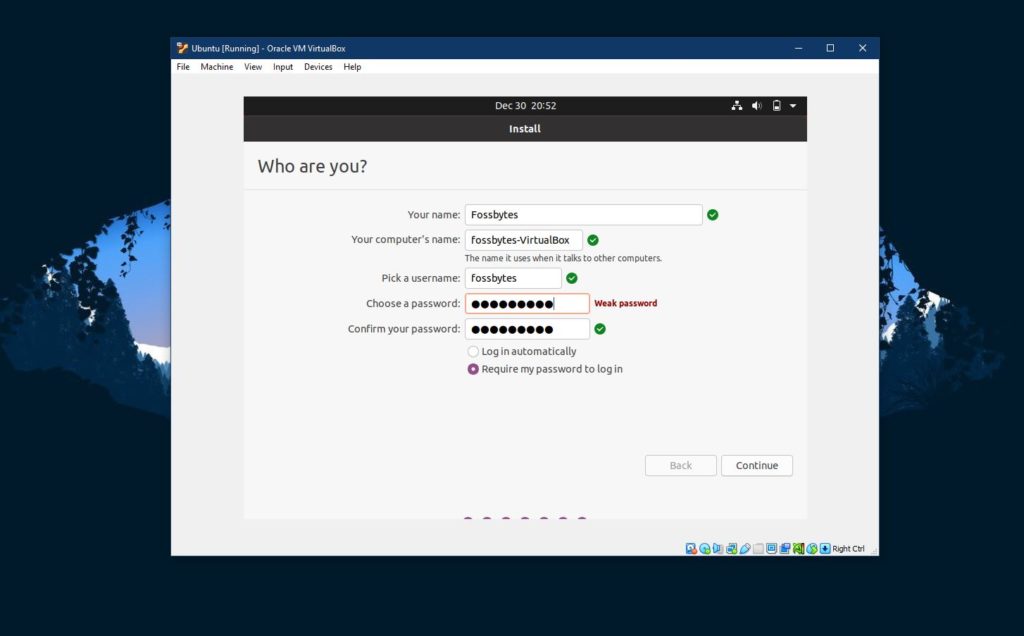
13. Select your Time zone and enter your name, your computer’s name, username, and password.
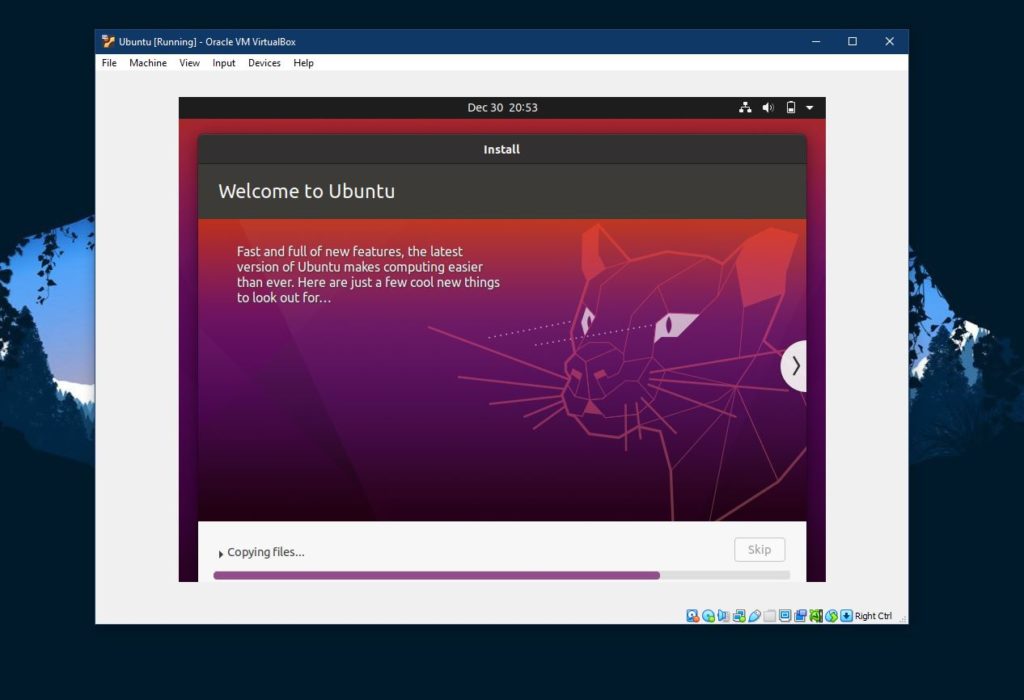
14. Sit back and relax.
You will be asked to restart the computer. Click on restart. When it prompts you to remove the installation media and click enter, click the enter key, and the OS will restart.
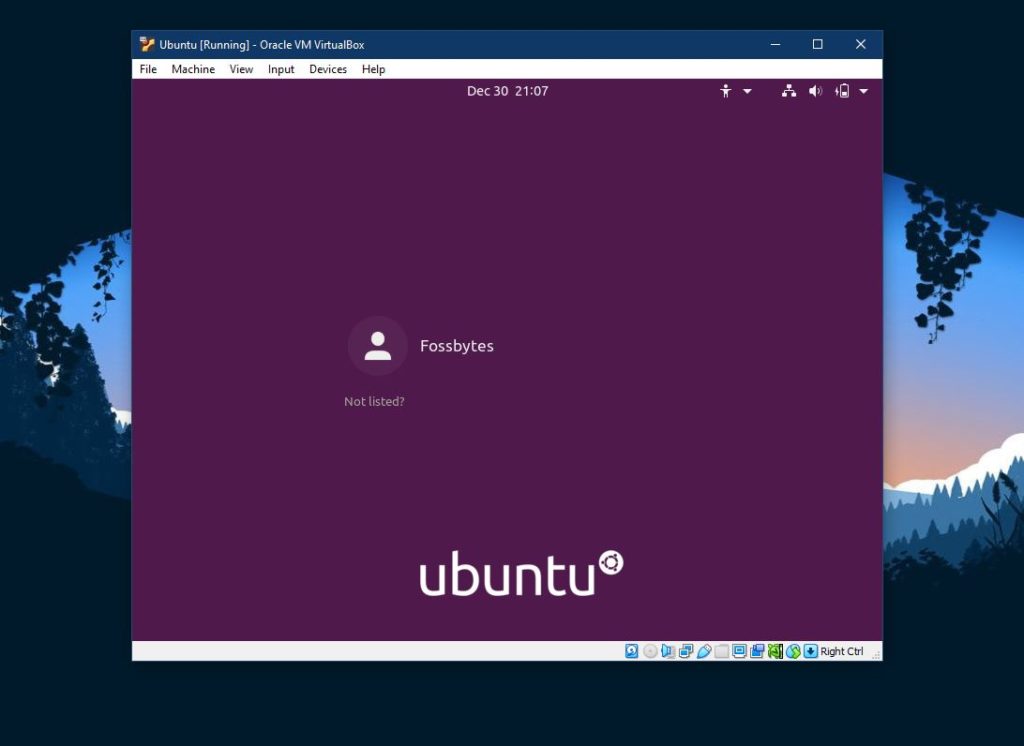
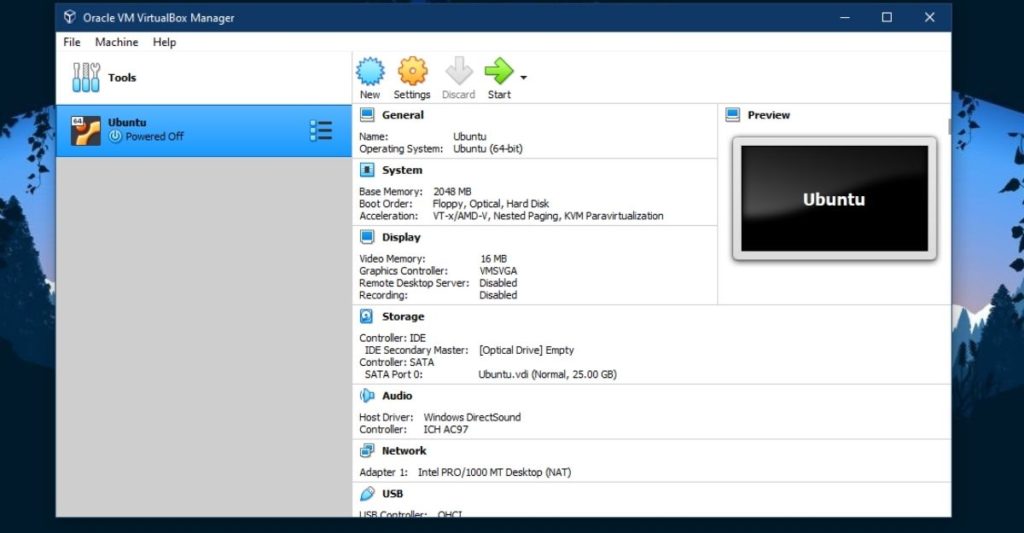
Voila! You have successfully installed Linux in Windows using VirtualBox. That was pretty easy, wasn’t it? Now all you need to do to boot again is open the VirtualBox manager and click on start.
Using Windows Subsystem For Linux V2.0
We’ve already written an article on how to install WSL2 on Windows. Some of the advantages of using WSL over a VM are better performance and lower resource usage, thanks to the tweaked Linux Kernel.
Having trouble following the steps in this tutorial? Let us know in the comments section below.
The post How To Use Linux In Windows? appeared first on Fossbytes.
How To Use Linux In Windows?
read more
No comments:
Post a Comment